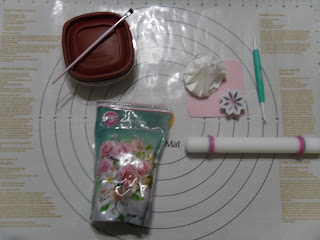
Here is the video demonstrating how to make gum paste daisies (ignore my hubbies lack of editing skills at the end)! You will need the following materials as described in this post:
 |
| Contains affiliate links |
In case you have difficulty viewing the video, here is an outline of the steps:
Step 1: Roll out gum paste
Step 2: Using the medium daisy cutter
Step3: Using a tapered spatula
Step 4: Using a ball and veining tool (teal tool from the modeling tool kit
Step 5: Repeat this for each petal on both flowers. Then, using a decorating brush
Step 6: Roll a small pinch of yellow tinted gum paste in a small ball and adhere with the gum glue.
Step 7: Place the finished daisy on a flower former
If you try this technique, please let me know how you did!


0 comments:
Post a Comment